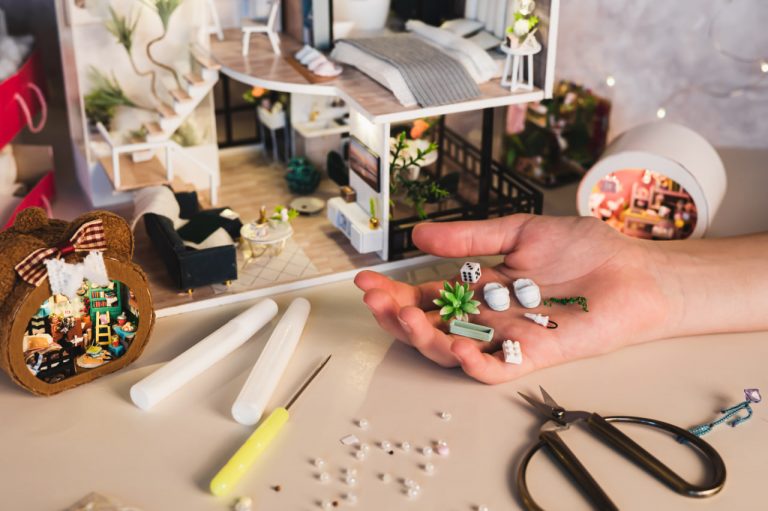
Painting and finishing are essential steps in miniature dollhouse crafting, transforming raw materials into realistic, visually appealing furniture and décor. Attention to detail, careful technique, and thoughtful finishing ensure that every tiny surface is polished, durable, and expressive. Mastery of these skills elevates miniature projects from basic models to lifelike, captivating miniature worlds.
This guide explores techniques, tools, and strategies for painting and finishing miniature details with precision and creativity.
Preparing Surfaces for Painting
Proper preparation ensures paint adheres well, colors remain vibrant, and surfaces are smooth and consistent.
Cleaning Materials
Remove dust, oils, or debris from wood, clay, or plastic pieces. A clean surface allows paint to bond evenly.
Sanding
Use fine-grit sandpaper to smooth edges, corners, and surfaces. Smooth surfaces reduce brush drag and prevent paint from pooling unevenly.
Priming
Applying a thin primer layer seals porous materials like wood or unbaked clay. Primers improve paint coverage, prevent blotching, and create a uniform base for colors.
Choosing Paints and Tools
Selecting the right paint and tools is essential for miniature detailing.
Paint Types
Acrylic paints are versatile, fast-drying, and suitable for most materials. Watercolor or gouache can create soft effects for walls or fabrics, while enamel paints provide glossy, durable finishes for accessories.
Brush Selection
Fine-tipped brushes allow detailed lines, patterns, and edging. Flat or angled brushes are useful for base coats or larger surfaces. Using high-quality, small brushes ensures precision and minimal bristle shedding.
Other Tools
Toothpicks, sponges, and micro-rollers are excellent for adding textures, stippling effects, or tiny highlights.
Painting Techniques for Miniature Details
Applying paint carefully and intentionally is critical for realism.
Layering
Apply thin layers of paint rather than a single thick coat. Layering builds depth, opacity, and subtle shading. Allow each layer to dry fully before applying the next.
Dry Brushing
Use a dry brush with minimal paint to highlight raised textures. This technique adds dimension and emphasizes intricate details.
Washing
Thin paint mixed with water or medium can be applied over a surface and wiped off, settling in crevices to create natural shadows and depth.
Stippling and Dabbing
Small dots or dabs of paint can simulate textures like fabric, wood grain, or stone, adding realism to miniature elements.
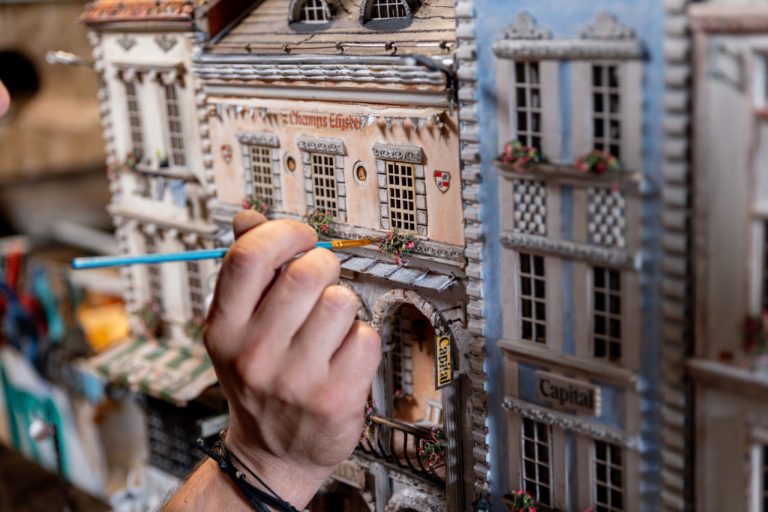
Detailing and Accent Work
Details bring character and life to miniature furniture, accessories, and décor.
Edges and Corners
Carefully paint edges, moldings, and corners to make pieces appear precise and polished. Fine brushes and steady hands are essential for clean lines.
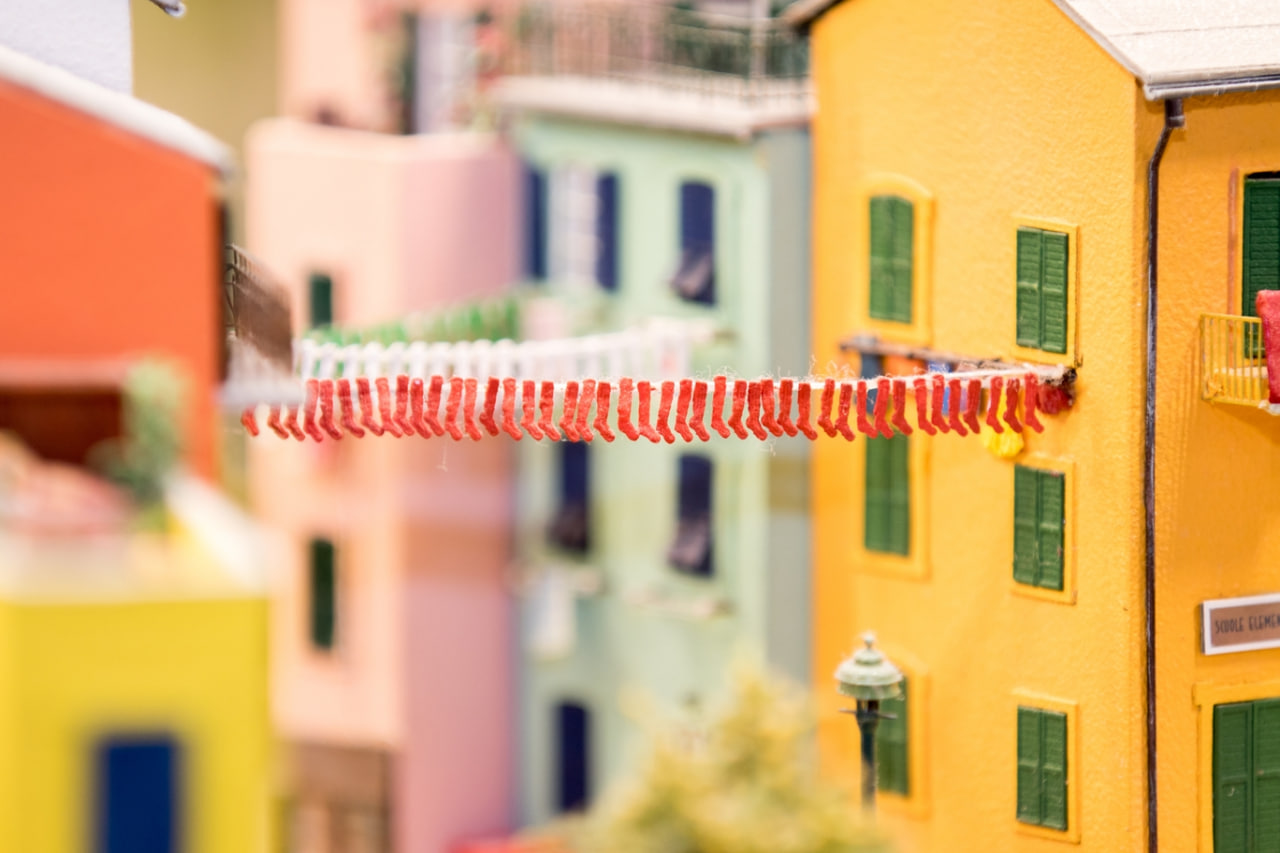
Patterns and Designs
Tiny floral motifs, stripes, or geometric patterns can add charm and individuality. Use stencils, fine brushes, or toothpicks to achieve accuracy at miniature scale.
Highlighting and Shading
Light and shadow effects enhance realism. Highlights emphasize raised areas, while darker tones create depth in recesses. Gradual blending produces natural transitions.
Finishing for Durability and Realism
Proper finishing protects your work and enhances the visual impact of miniature pieces.
Sealing
Apply a clear matte, satin, or glossy sealant to protect painted surfaces. Sealants prevent chipping, fading, and damage from handling.
Texturing
Adding texture with specialized mediums or varnishes can simulate wood grain, plaster, or stone, increasing the realism of surfaces.
Gloss and Shine
Consider selective gloss finishes for elements like glass, ceramics, or polished wood to imitate reflective surfaces accurately.
Final Touches
Tiny embellishments like metallic paint for knobs, subtle weathering for realism, or hand-painted designs add character and authenticity.
Workflow Tips for Painting Miniatures
Efficiency and precision in painting require organization and planning.
Work in Sections
Divide projects into manageable parts: base painting, details, accents, and finishing. This prevents smudging and makes mistakes easier to correct.
Use Sample Pieces
Test paint colors and techniques on scrap material before applying them to final pieces to avoid errors and unexpected results.
Maintain Clean Tools
Regularly rinse brushes, clean palettes, and sharpen fine tools. Clean tools produce sharper details and prevent color contamination.
Practice and Patience
Painting miniature details requires patience and repetitive practice. Beginners should start with simple shapes and colors, gradually progressing to complex textures, patterns, and layered effects. Observing real-life objects and studying miniature examples helps develop a keen eye for proportion, shading, and color accuracy.
Experimentation
Try different paint combinations, brush techniques, and finishes to discover unique effects.
Iterative Improvement
Learn from each project by noting successes and areas for improvement. Refinement over time builds skill and confidence.
Attention to Detail
Consistent focus on small details elevates miniature work from basic models to highly realistic and visually captivating pieces.